Contact Us: 800.339.7304
Click to download to begin the process. Note: Only 64-bit operating systems are supported.

After selecting your system configuration, a prompt asking “Run” the IronCAD application will appear. (select “Run” to continue to the installation). You will need elevated permissions to install and may be asked to continue to the install from Windows. Click “Yes” or “Continue” to the dialog. Note: Images are not specific to a product or version. The steps are for the standard process of installing and activating. 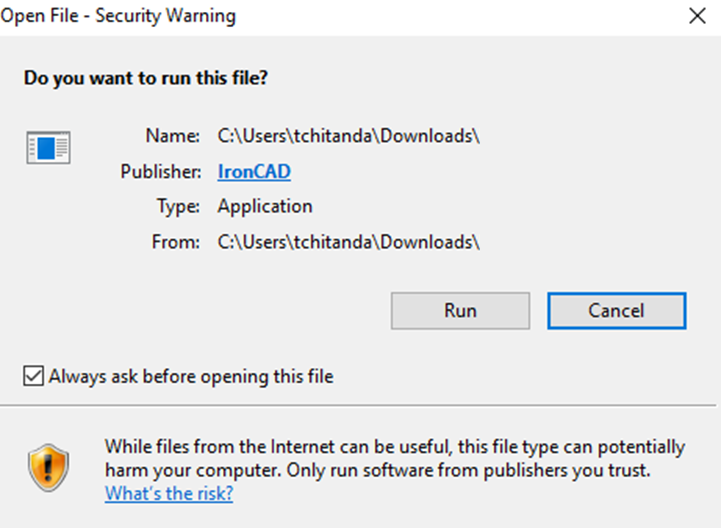
Next, IronCAD’s Design Collaboration Suite Download Manager will begin downloading the program. 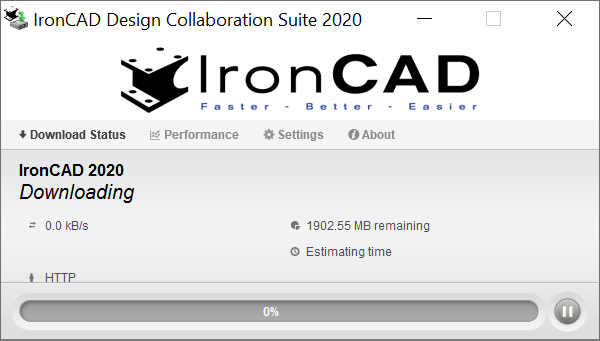
Once the IronCAD DCS Download Manager has completed downloading the program it will automatically bring up the IronCAD Setup EXE. 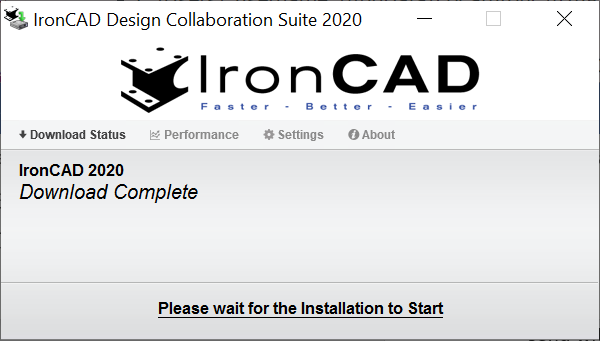
Click Install to begin the installation. 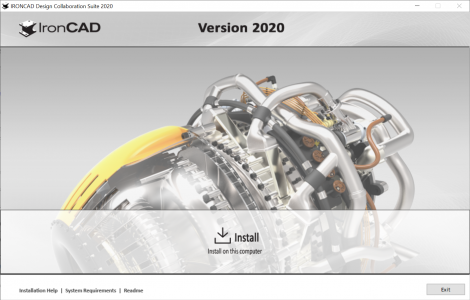
Read and then accept the license terms and click Next. 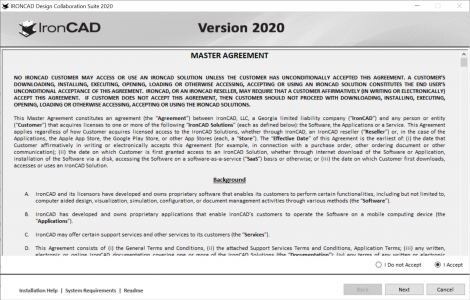
Select the desired products and components to install. Note: Additional products may be visible/hidden based on installed products.
Click the desired options and click Install. Note: Select Custom to fully customize the install.
Wait for install to complete. Click on the Learn More to see how IronCAD is different in achieving productivity in design. 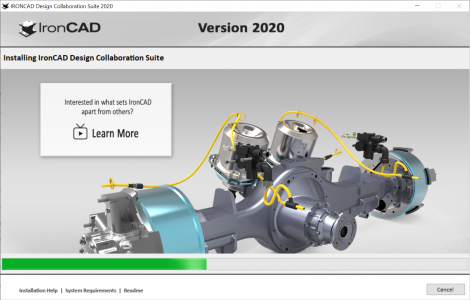
Click to Install .NET Framework 3.5 (If required). 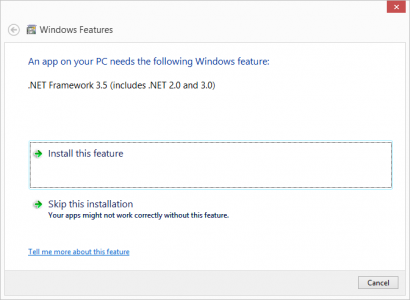
Click Close. 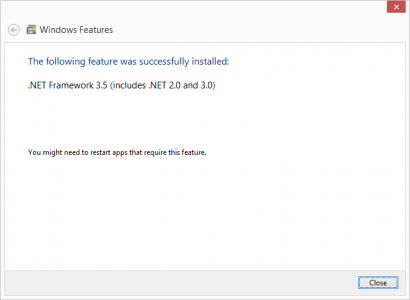
After the installation completes, check the results and click Finish. 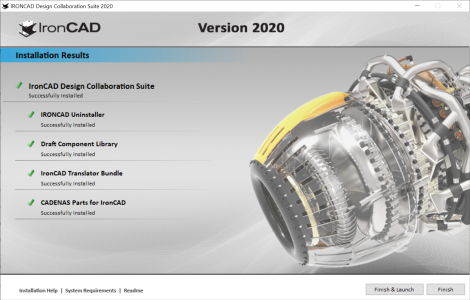
Start the desired program (IRONCAD, for example) by double-clicking on the desktop shortcut. 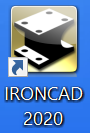
Starting IRONCAD for the first time, you will have two options:
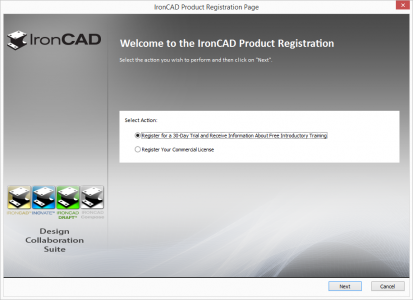
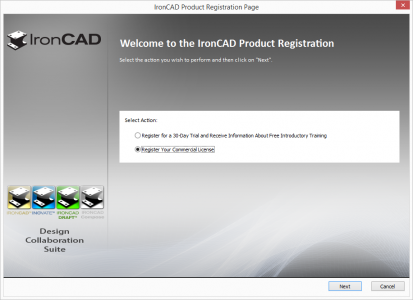
To run as a Trial user, click Next to the Register the Trial, you will be prompted to fill in the registration information. Complete the form and click Next to activate the trial.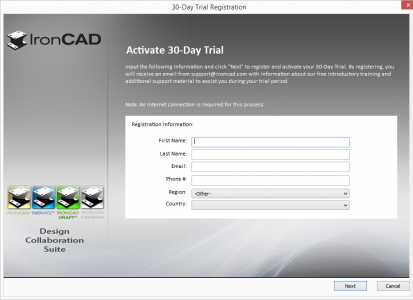
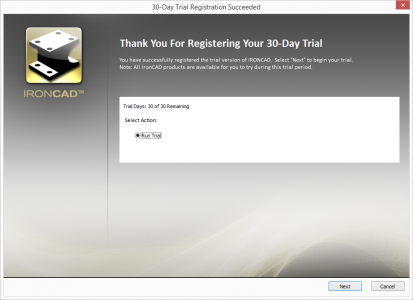
Once you’ve completed the form, click Next to run the trial. Note: When you start the product from the desktop icon, you will not see this dialog after the first time. Now you can use IRONCAD during the Trial Period. Click to start a new design environment (scene or drawings) or click on the resources for getting started help.
IRONCAD Startup Screen Once Running the Product